A facial treatment can leave your skin glowing, refreshed, and incredibly soft — but you don’t need a spa appointment to enjoy those benefits. With a few simple steps and some basic products, you can recreate the experience right at home. A home facial is not only budget-friendly but also a relaxing way to take care of yourself.
In this article, we’ll walk you through how to do a home facial the right way, using everyday products and techniques that suit all skin types.
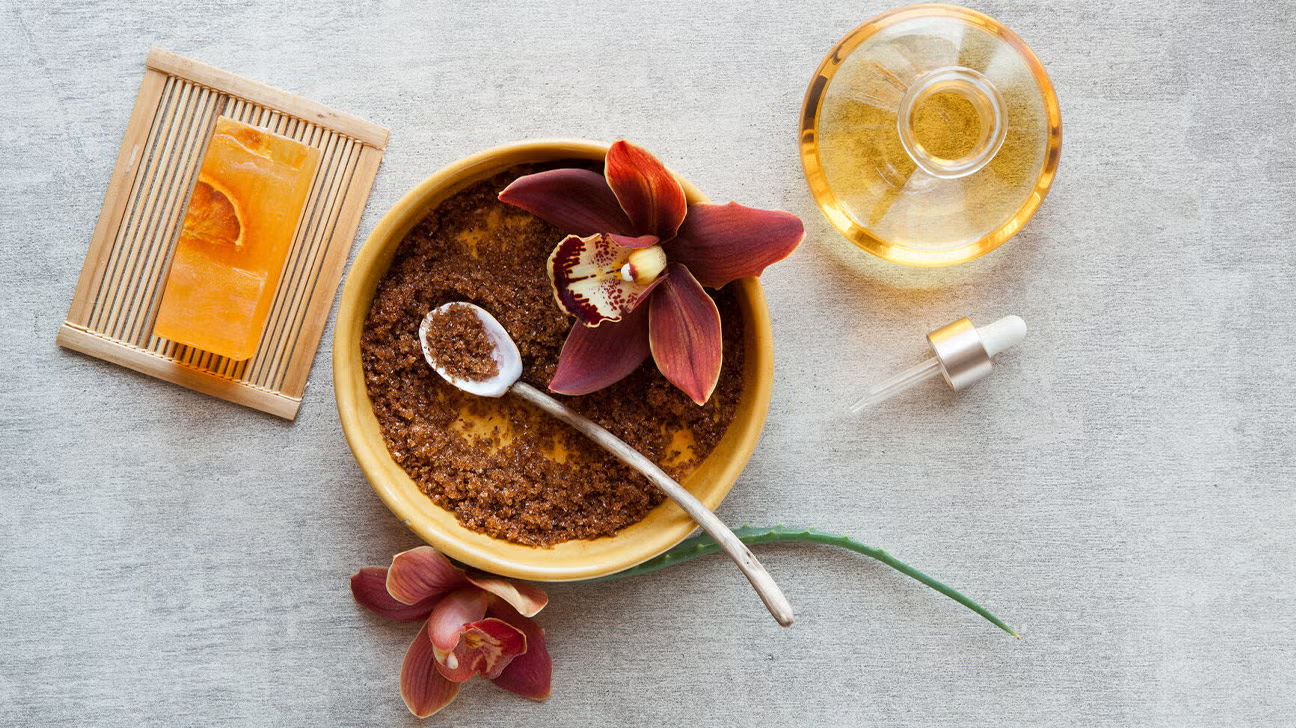
Why Do a Facial at Home?
Facials help to deeply cleanse, exfoliate, hydrate, and revitalize the skin. Regular home facials can support your everyday routine by:
- Removing buildup and impurities
- Improving skin texture and tone
- Promoting a healthy glow
- Offering a relaxing, self-care experience
When done correctly and gently, home facials are a great way to treat your skin once a week or every two weeks.
Step 1: Set the Mood
Before diving into the skincare steps, take a moment to create a calming environment.
- Dim the lights or light a candle
- Play soft music or nature sounds
- Wear a comfortable robe or soft T-shirt
- Tie your hair back with a headband
This helps you treat your facial as a full self-care ritual, not just another chore.
Step 2: Cleanse Your Face Thoroughly
Start by removing makeup and washing your face to create a clean base.
Use:
- A gentle cleanser suited to your skin type
- Lukewarm water (never hot)
- Circular motions with clean hands or a soft cloth
Take your time to massage your face — it improves circulation and helps your skin absorb products better later.
Step 3: Exfoliate Gently
Exfoliation removes dead skin cells and helps reveal smoother, brighter skin underneath.
Choose:
- A mild physical exfoliant (like a scrub with fine particles)
- Or a gentle chemical exfoliant (such as one with fruit enzymes)
Avoid harsh scrubs that can cause micro-tears in the skin.
Limit exfoliation to once per week to prevent irritation.
Step 4: Steam Your Face
Steaming opens your pores and helps loosen dirt and oil trapped deep inside.
How to do it:
- Boil water and pour it into a bowl
- Place your face over the bowl (not too close)
- Cover your head with a towel to trap steam
- Steam for 5–8 minutes
Optional: Add herbs like chamomile, green tea, or lavender for a soothing aroma.
Step 5: Apply a Face Mask
Now that your pores are open, it’s the perfect time for a mask.
Choose a mask based on your skin’s needs:
- Clay masks for oily or acne-prone skin
- Gel masks for hydration and calming
- Cream masks for dry or mature skin
- Homemade masks with ingredients like honey, yogurt, or mashed avocado
Leave it on for 10–15 minutes and rinse with lukewarm water.
Step 6: Use a Toner
Toner helps rebalance your skin’s pH and remove any leftover residue from your mask.
Use:
- A gentle, alcohol-free toner
- Apply with a cotton pad or spray bottle
- Pat into the skin gently
Look for natural ingredients like rose water, cucumber, or chamomile.
Step 7: Apply a Serum or Treatment
This step is optional but great if you have specific skincare goals.
Use a serum if you want to:
- Brighten dull skin (vitamin C)
- Add hydration (hyaluronic acid)
- Calm redness (niacinamide)
Apply a few drops and gently press into your skin.
Step 8: Moisturize
Moisturizer seals in all the previous layers and keeps your skin hydrated.
Tips:
- Choose a cream, lotion, or gel based on your skin type
- Use upward strokes to gently massage into the skin
- Don’t forget your neck and jawline
For an extra treat, do a light facial massage using your fingertips or a jade roller.
Step 9: Protect (If It’s Daytime)
If you’re doing your facial during the day, don’t forget SPF as the final step.
Use:
- A broad-spectrum sunscreen with SPF 30 or higher
- Even if you’re staying indoors near windows
Sunscreen protects your refreshed skin from UV damage and keeps it looking healthy longer.
Bonus Tip: Clean Your Tools
Always clean any tools you use (rollers, brushes, bowls) with mild soap and warm water after your facial. Let them air dry before storing.
Final Thoughts: Make It a Habit
Doing a home facial once a week or twice a month can greatly improve your skin’s texture and appearance — and it’s also a chance to pause, relax, and take care of yourself.
You don’t need fancy products or a professional setup to pamper your skin. With just a few thoughtful steps, you can enjoy all the benefits of a spa facial in the comfort of your own home.